articles/Photoshop/photoshopbeginnersdg-page2
Photoshop for Beginners - part 2 of 1 2 3
Published 01/08/2013

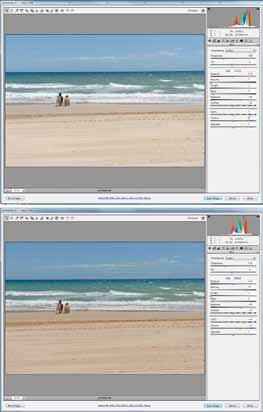
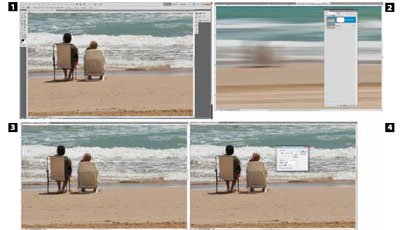
The Raw image was warmed, and the Clarity and Vibrance sliders were used to boost the strength of the colours; although it was cool the sun was still clear and bright after a recent shower so the original was quite colourful . Simplification of the image consisted of using motion blur along the direction of the horizon (which must be level or levelled for a shoot such as this). It was always the intention to blur the background and then 'cut in' a sharp version of the couple. This requires just one further trick, and this is often true of shots in which motion blur is employed. Blurring of the figures leaves a dark halo which remains after the figures have been cut out because it extends some way around them [2].

To overcome this, a rough selection is made [3] and then Content Aware Fill is employed to cover the scene evenly [4] and [5]. This copy layer is then blurred to produce an even scene without halos [6]. The original sharp layer is then placed on top of the blurred layer and a layer mask is employed to 'hide' all but the watchers. The masking can be relatively crude because the colours of both layers remain very close in value [8].
Finally the image was key-lined and bordered ready for printing. The entire operation took less than a minute.
Please Note:
There is more than one page for this Article.
You are currently on page 2
1st Published 01/08/2013
last update 09/12/2022 14:57:49
More Photoshop Articles


