articles/Photoshop/photoshopimpressions-page2
Montizambert Photoshop Impressions - part 2 of 1 2 3 4
by Dave Montizambert Published 01/06/2005

• Filter > Blur > Gaussian Blur.
It is always best to judge how heavy you want to apply the filter by viewing the image at 100% zoom. 100% Zoom Viewing quick keystrokes. With Adobe Photoshop use these quick keystrokes to save time when zooming the image to 100%: CMD + OPTION + Zero on a Macintosh or CTRL + ALT + Zero on a PC.
For this 12mb image the radius is set to 6 pixels - see [3]. The Blur filter makes the image appear out of focus on the top layer rather than softened - see [4]. To create the look of a softening filter the opacity is partially reduced on the top layer so the sharp bottom layer partially shows through. This is done by selecting the top layer, clicking on the black arrow head to the immediate right of Opacity 100%, then sliding the pop down Opacity slider to the left. On this image the Opacity of the top layer was set to 42%, see [5]. View [6] to see the effect on the image. This digital softening method is so much more powerful then using camerasoftening techniques because it allows you to change your mind at any time and it provides a hundred different amounts of softening rather than a mere handful.
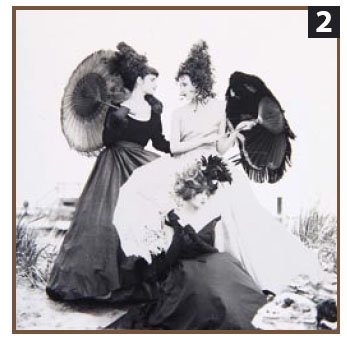
Looking back at the final image, [1], notice that the image does not have an overall softening effect, the softening is distributed unevenly. Selective softness or sharpness, depending on how you look at it, is yet another tool to draw the eye to key points in the image as well as adding depth. For this selective softening effect, I usually do not lower the blurred top layer opacity setting below 100%. To see select parts of the sharp bottom layer through the top blurred layer, a layer mask is used to hide (make transparent) areas of the blurred layer. With this in mind the previous blurred layer was thrown out because it has too little Gaussian Blur applied to it at 100% layer opacity for the effect I am after. It is replaced with a new background copy layer that was blurred with a Radius of 12 pixels, see [7] and [8]. To selectively reveal parts of the sharp bottom layer it would make sense to erase portions of the top blurred layer with the eraser tool. This will do the job, however it will limit your options later on. A more powerful solution, rather than deleting areas of the top blurred layer, is to hide these parts by gradually painting black onto a white Reveal All Layer Mask. This method allows you paint back what has been painted away at any time, even after the image has been saved and reopened. To try this technique start by clicking on the top blurred layer to select it. From the Layer Menu select Layer Mask and then Reveal All.

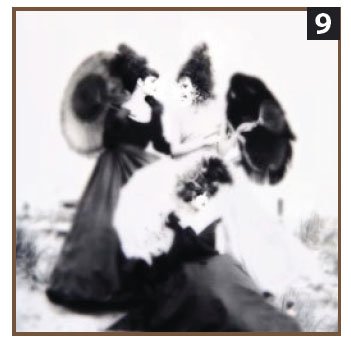
• Layer > Layer Mask > Reveal All Select the Brush tool and then select Airbrush attribute from the tool options bar next to Flow. Set Flow to 10% or less, then near the bottom of the tool bar select black as the Foreground Colour. Drag the brush over the areas of the image that you wish to appear sharper. Wherever you paint with the brush tool it begins to hide the top softened layer allowing the sharp bottom layer to show through. If you change the Foreground Colour from black to white and repaint over these same areas, these previously hidden areas will again be revealed. To see the layer mask painting effect complete see [9]. Compare this version with the unpainted version, [8].
In my mind the advantages of softening an image digitally either globally or selectively makes traditional methods obsolete. I also think that using a layer mask to selectively hide areas of the top soft layer so that parts of the bottom sharp layer show through is superior to selectively erasing the top layer with the eraser tool. This is because a layer mask allows us change our minds about where the layer mask hides the top layer and by how much. It also allows us to re-edit the effect at anytime thereafter.
Please Note:
There is more than one page for this Article.
You are currently on page 2
- Montizambert Photoshop Impressions page 1
- Montizambert Photoshop Impressions page 2
- Montizambert Photoshop Impressions page 3
- Montizambert Photoshop Impressions page 4
1st Published 01/06/2005
last update 09/12/2022 14:57:51
More Photoshop Articles


