articles/Lightroom/skintune-page1
Skin Tune - part 1 of 1 2
by Mike McNamee Published 01/04/2007

The favourite way to quickly correct an image using RAW files (or, now, JPEG files using Lightroom) is to ensure that you have something neutral grey present in the image and to use this to set the colour balance in Photoshop. This tactic is the most successful method but you do not always have the luxury of a true grey in your scene. However, one of the most likely tones to be present is skin. What if you could perform some magic in Photoshop whereby the tone of the skin were treated like a grey card? At first glance this seems like a tall order but SkinTune exploits the fact that the range of colours found across all the human races is relatively small (although not as small as they claim, their maths seems flawed to the writer). The human race comes in all sorts of shades from African, pale Nordics, and yellow Far Easterns. However, the range is governed more by lightness value with the hue and saturation being more limited. In general, complexions become paler the further you move from the equator because the strength of the ultraviolet declines making it less necessary to have a protective black skin. There is reasonably strong evidence that males prefer lighter females as mates but the evidence suggesting that women tend to be lighter than men is a little more flaky (end of anthropology lesson, if you are burning to know more visit http://dienekes.blogspot.com and look for sexual dimorphism).

When testing a product such as SkinTune it is necessary to include some basic tests of an everyday nature but then to push it to the limits and compare it to more sophisticated methods.
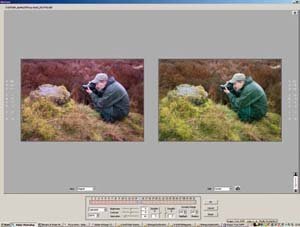
Test 1 - incorrect white balance
You are currently on page 1 Contact Mike McNamee
1st Published 01/04/2007
last update 09/12/2022 14:59:00
More Lightroom Articles


