articles/Postproduction/tintingtoning-page2
Tinting and Toning - part 2 of 1 2
by Mike McNamee Published 01/04/2006

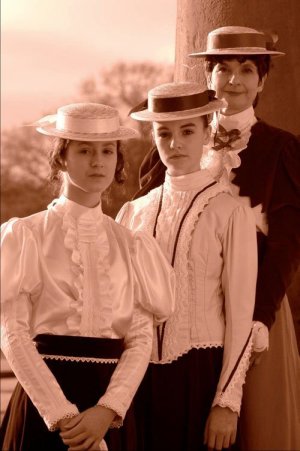
Sepia toning via the second Photoshop action brings in the Channel Mixer and creates an image tone that has hue values between 34° and 45°. It is a rather weak sepia tone.
In conventional photography a range of sepia colours may be produced depending on the alkali concentration in the sulphur donor solution. The tones range from a very warm red/brown through to a cold purple. The nature of the toning process is that it works on the amount of developed silver in the print and so it does not affect the highlights much. The colour adjustments must reflect this process to look totally real, with a heavier application of colour in the shadow areas. The composite table shows the effect of different levels of adjustment in the Photoshop Color Balance dialogue box on an RGB image that has previously been desaturated (by any method of your choosing). It is worthwhile making a graduated grey scale and printing some test samples at different settings to create an effect that you like. The richer, peach, colour is particularly attractive for female portraiture.
If you employ an Adjustment Layer for the Color Balance this can be dragged onto other images to replicate the effect and to ensure that they are always the same tone balance. Color Balance is one of the few Photoshop dialogue boxes that does not have a "save setting" facility
Please Note:
There is more than one page for this Article.
You are currently on page 2 Contact Mike McNamee
1st Published 01/04/2006
last update 09/12/2022 14:59:55
More Postproduction Articles


