articles/Photoshop/botanicalart-page6
The reproduction of botanical art - part 6 of 1 2 3 4 5 6 7 8
by Mike McNamee Published 01/10/2007

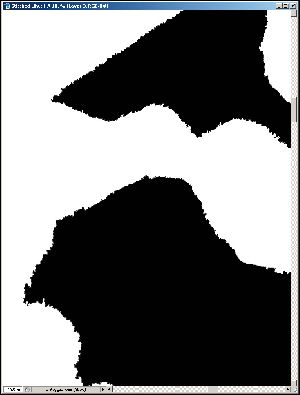
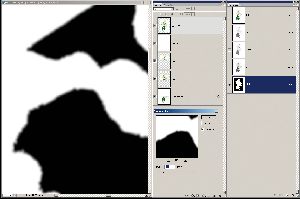
When the complete outline of the subject had been made it was saved as an Alpha Channel for reference. With the outline selected, it was then inverted (Ctrl-Shift-I) and a Levels Adjustment Layer created. For a subject such as this it is usually only necessary to bring the highlight slider down to about 245 RGB points to eliminate the background by pushing it to 255 RGB points - not technically erasing, simply driving it out beyond the clipping point. This left a residual dot pattern of around 245 RGB points on those parts of the petals that were at paper-cream in the original. Once we were satisfied with the outer surroundings to the plant, the mask attached to the adjustment layer was activated (focused) and softened using Gaussian Blur to between 2 and 6 pixels (for a typical 30 to 40Mb scan).

Control of the other colours within an image may need selective masking. If, for example, the proof shows the leaves to be a little under-saturated or slightly off hue, a Hue and Saturation adjustment layer might usefully be employed. It might pay dividends to add to the layer mask from the outline to prevent any changes influencing the outer margins of the image.
Please Note:
There is more than one page for this Article.
You are currently on page 6
- The reproduction of botanical art page 1
- The reproduction of botanical art page 2
- The reproduction of botanical art page 3
- The reproduction of botanical art page 4
- The reproduction of botanical art page 5
- The reproduction of botanical art page 6
- The reproduction of botanical art page 7
- The reproduction of botanical art page 8
1st Published 01/10/2007
last update 09/12/2022 14:51:53
More Photoshop Articles


