articles/Software/filterfactorymasking-page2
Filter Factory Tactical Masking - part 2 of 1 2 3 4 5 6
by Mike McNamee Published

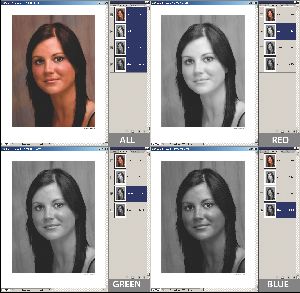
With advanced masking tactics we are looking for an effect that is proportional in effect and selective in the area that is affected. This is most readily found in one of the existing channels, which are seen in the Channel Palette.

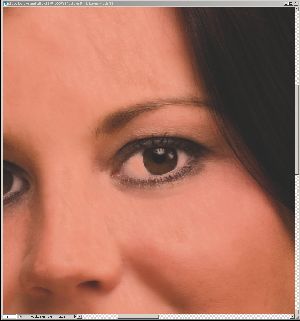
For an RGB file you will find a red, a green and a blue channel along with the default composite channel. For global control of skin tones, as we have seen on the previous pages, the red channel is key as it is here that the bulk of the pixel depth lies. Skin is predominantly red in colour, lying in the right upper quadrant of the Lab space. This is where you run into trouble if you try masking skin with a CMYK file, the skin will be shared out between the yellow and magenta channels in almost equal measure. Take it as given then, that for manipulation of skin, the red channel and its derivatives (ie with enhanced contrast or even reversed to a negative) are where the action is. For example, a positive of the red channel will be light (ie not dense) in the skin areas but dark in, say, blue eyes. Using it will therefore allow manipulations to affect the skin but protect the eyes. Conversely, if you wish to sharpen the details of a face but leave the skin alone a negative of the red channel will fit the bill. Sharpening through a negative of the red channel will sharpen eyelashes and eyes but leave the skin soft and smooth. For the removal of hotspots on skin, the blue channel is often better used, as it will be light in density in the vicinity of the hot spot only.
Please Note:
There is more than one page for this Article.
You are currently on page 2
- Filter Factory Tactical Masking page 1
- Filter Factory Tactical Masking page 2
- Filter Factory Tactical Masking page 3
- Filter Factory Tactical Masking page 4
- Filter Factory Tactical Masking page 5
- Filter Factory Tactical Masking page 6
1st Published
last update 09/12/2022 14:54:15
More Software Articles


