articles/Photoshop/photoshopbeginners-page3
Photoshop 4 Beginners - Brush Up Your Photoshop Skills - part 3 of 1 2 3 4 5 6 7 8
by Mike McNamee Published

All of the waviness is eliminated if you employ a soft-edged brush. If the Airbrush is brought into play then dwelling over a spot will allow the density and/or size of the paint spot to increase, just as it would with a real airbrush. In the screen-grab shown, the Airbrush spot was held for about 5 seconds, enough for the paint spot to stabilise at its maximum size.
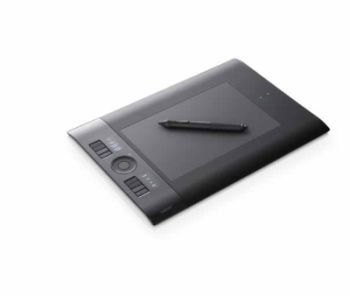
When a graphics tablet is employed the range of options becomes infinite as the brush and media control are now dependent on the pressure applied to the tablet with the pen, its angle to the tablet and the various Shape Dynamics and Scattering that may be applied from the Brushes Panel tabs. One of the great frustrations of the written tutorial is that such effects are easy to demonstrate in the moving (movie) image but very difficult using words alone. This is why the Gry Garness tutorial DVD, reviewed as part of this feature, is so important, she explains with great clarity how the brushes work with various settings applied. Even so, there is still nothing quite like taking hold of the graphics pen and trying things for yourself. When you do so you need to test things in a structured way rather than waving your pen (or mouse) about randomly - some of the effects are subtle. This is an area where practice away from a real job is better, you have to devote the time to learning the skills before you can apply them with any mastery to a real retouch job. In terms of the learning cycle it is probably easier to get to grips with brushes by painting on masks rather than attempting a reproduction of the Mona Lisa or a full 'eye job' on a model shoot. To put some perspective on this, the Gry Garness DVD is only about beauty retouching and still manages to consume 13.5 hours across 54 tutorials - don't be looking to pick up these skills in half a day, just listening to the DVD is a three-day job for most, without even trying things for yourselves!
This might not fit in with your pressing ambitions but brushing masks is simpler because no colour is involved. A mask is an 8-bit, or in some cases a 16-bit, item in Photoshop which controls the visibility of an image or image adjustment. By this we mean that a 50% mask will show pixels at 50% of their strength if it is an image mask and 50% ofthe effect if it is a mask associated with a colour adjustment layer. In other words, if you paint a 50% grey on the mask, it halves the effect; a deeper, 25% grey, quarters the effect; and 100% grey (aka black!) stops the effect altogether. An important property of this control is that it can be varied across an image both in position and density. This is where the control of adjoining edges is achieved for montage work.
Please Note:
There is more than one page for this Article.
You are currently on page 3
- Photoshop 4 Beginners - Brush Up Your Photoshop Skills page 1
- Photoshop 4 Beginners - Brush Up Your Photoshop Skills page 2
- Photoshop 4 Beginners - Brush Up Your Photoshop Skills page 3
- Photoshop 4 Beginners - Brush Up Your Photoshop Skills page 4
- Photoshop 4 Beginners - Brush Up Your Photoshop Skills page 5
- Photoshop 4 Beginners - Brush Up Your Photoshop Skills page 6
- Photoshop 4 Beginners - Brush Up Your Photoshop Skills page 7
- Photoshop 4 Beginners - Brush Up Your Photoshop Skills page 8
1st Published
last update 09/12/2022 14:57:48
More Photoshop Articles


